
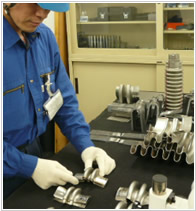
– What materials are pre-existing pipelines made from?
– How much has the current thickness been worn or deteriorated?
– Are there any abnormalities in pipe temperature, or the amount of vibration or displacement?
– What is the pipe device’s residual fatigue life?
At Neuron Japan, we visit each plant site and carry out situation assessment and diagnosis of plants using the most cutting-edge portable inspection and measurement devices. We also undertake testing for the residual life of existing expansion joints couplings.
 |
||
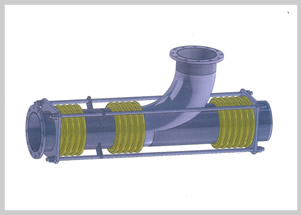
| 3D Analysis (CCR) | 3D CAD(Pressure Balance bellows-type) |
 |
||
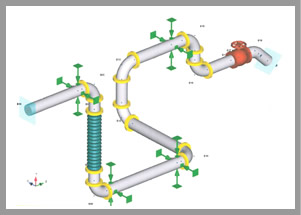
| Finite Element Method [ANSYS] | Piping stress analysis |
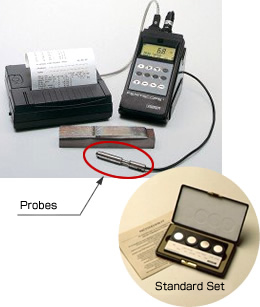
(Made in Germany by F Company)
|
The metallic ferrite *1even in Stainless Steel induces and promotes corrosion. Ferrite scopes are able to non-destructively measure the amount of delta ferrite in the welding used in oil pipelines and pressure vessels etc., as well as in steel cladding.
*1. Ferrite |
(Made in SWITZERLAND by F Company)
|
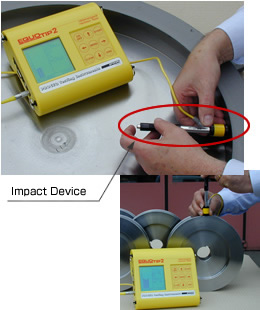
A revolutionary tester which operates on a principle (*1 EQUO principle) which is completely different from past penetrometers. It is a consistently important inspection device in the metalworking industry, and is able to non-destructively measure a wide range of products, including non-metallic soft materials.
*1 EQUO principle
Powered by a special spring, an impact body equipped with a test chip strikes and rebounds from the surface of the test piece. At that time, the impact device’s coils and the magnet installed inside the impact body activate and voltage is induced. This voltage, directly proportional to speed, is transmitted to the electronic mechanism, and is automatically digitally displayed as hardness value “L.” |
(Made in the USA by R Company)
|
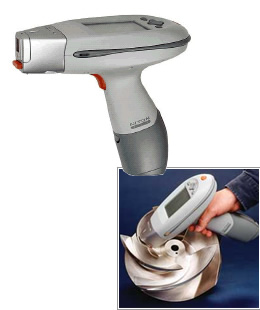
A device which uses the principle of fluorescent X-ray spectroscopy (energy dispersal type) to detect the existence/content of specified elements in targeted metallic materials. Unlike typical fluorescent X-ray spectroscopy devices, there is no concept of a sample chamber, allowing the device to be transported in order to take measurements. Can be used in recycling sample division/screening, and product intake testing/finished goods inspection/shipping inspection.
|
|
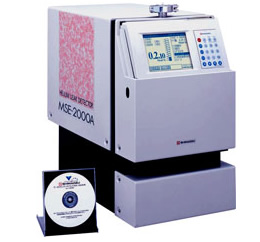
The Helium Leak Detector is a fully-automatic portable model which delivers high sensitivity/low background, and which comes equipped with a molecular drag pump with a high compression ratio, and a high-performance analysis tube. In leak testing, this method is able to detect the finest leaks.
In helium leak testing, it is able to detect even extremely fine leaks of (5 X 10 – 13Pa/m3/s), so small that at a rate of 1Pb, 1cm3 of air would take approximately 6,000 years to fully leak. In leak testing, this method is able to detect the finest leaks.
|